;
;Overview of Commercial Roofing Installation
Introduction
Proper roofing installation is critical for the integrity and longevity of commercial properties. A well-installed roof protects the building from environmental elements, enhances energy efficiency, and contributes to the overall durability of the structure. This article provides a detailed overview of the commercial roofing installation process, highlighting key steps and considerations for ensuring a successful project.
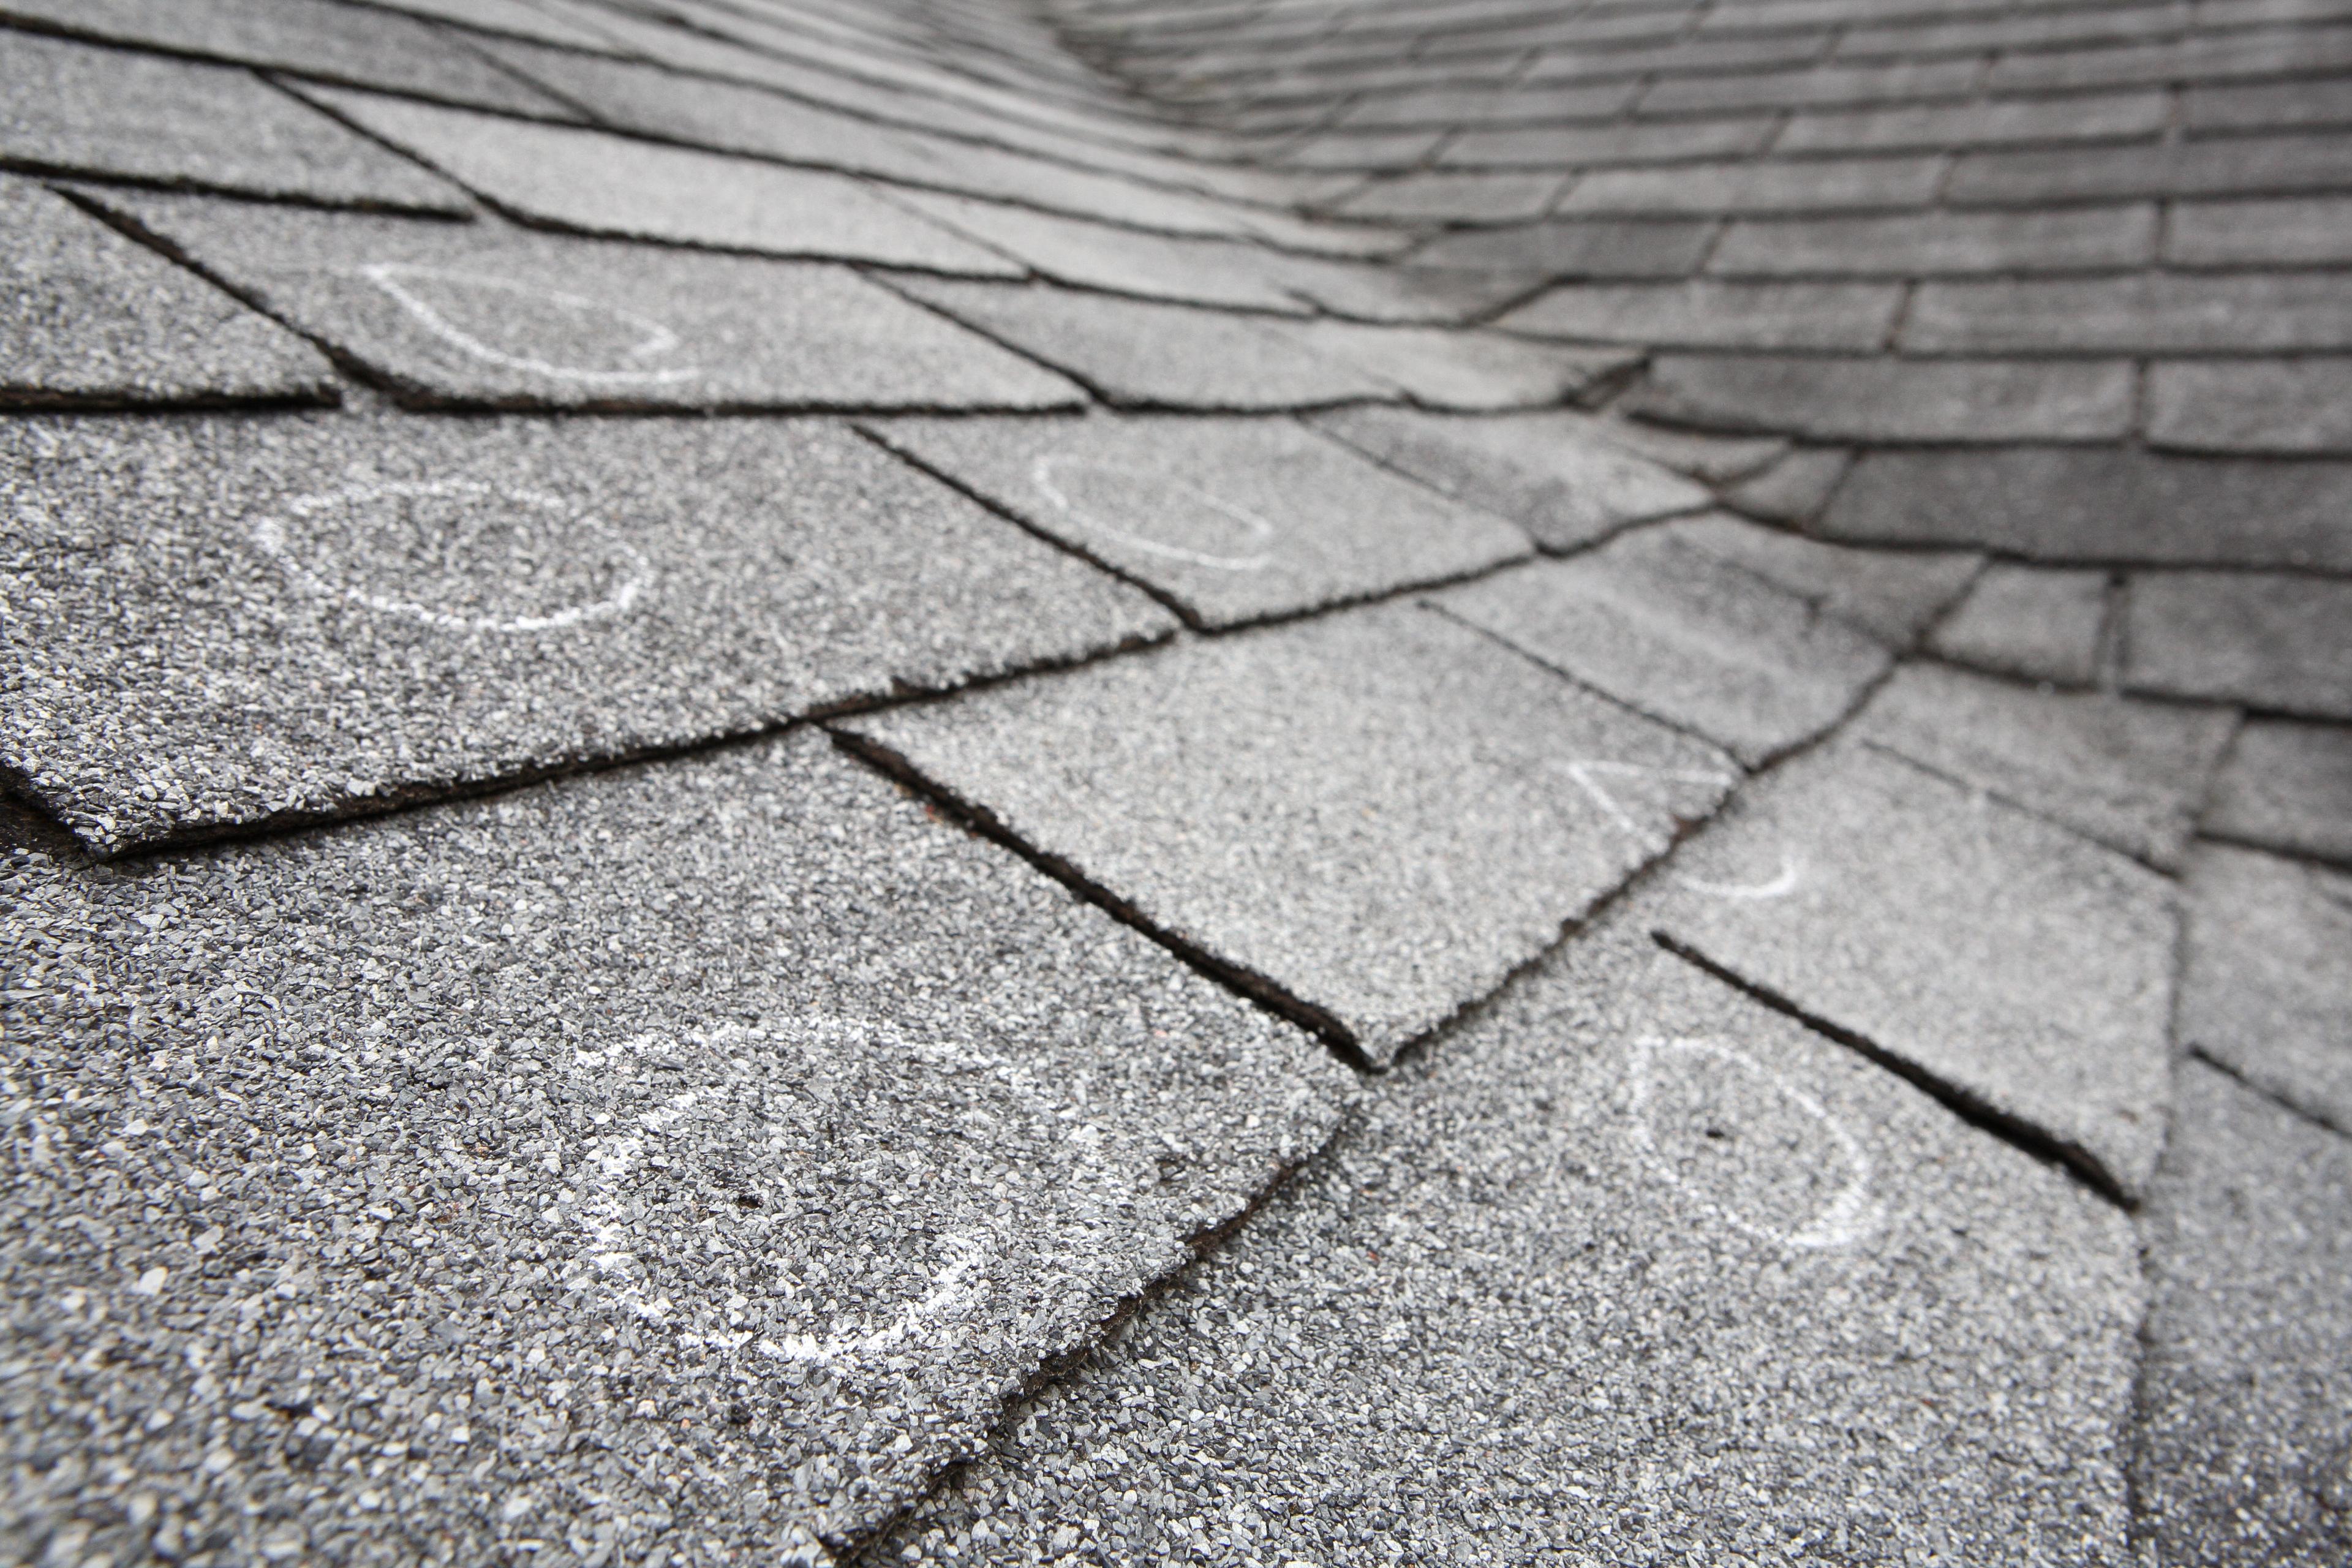
Initial Assessment and Planning
The first step in any commercial roofing installation is a thorough initial assessment and planning phase. This involves evaluating the current condition of the roof, identifying any existing damage, and determining the specific needs of the building. Factors such as the building's use, local climate, and applicable building codes must be considered. Selecting the appropriate materials and roofing system is crucial at this stage to ensure the new roof meets the property’s requirements. Proper planning lays the foundation for a smooth installation process, helping to avoid unexpected issues and delays.
Choosing the Right Roofing System
Selecting the right roofing system is a critical decision that impacts the building's performance and maintenance needs. There are several commercial roofing systems to choose from, each with distinct advantages and drawbacks:
TPO (Thermoplastic Olefin) Roofing: TPO is a popular choice for commercial buildings due to its energy efficiency and durability. This single-ply membrane is highly reflective, reducing the building's cooling costs by reflecting sunlight. TPO is also resistant to UV rays, ozone, and chemical exposure, making it a robust option for various climates. Its heat-welded seams provide excellent waterproofing, and the material's flexibility allows it to accommodate building movements without cracking.
EPDM (Ethylene Propylene Diene Monomer) Roofing: Known for its flexibility and resilience, EPDM is a single-ply rubber membrane that performs exceptionally well in extreme weather conditions. It is highly resistant to UV radiation, ozone, and temperature fluctuations, making it ideal for both hot and cold climates. EPDM roofs are easy to install and maintain, with a long lifespan of up to 30 years. They are particularly suited for low-slope roofs and can be ballasted, fully adhered, or mechanically attached.
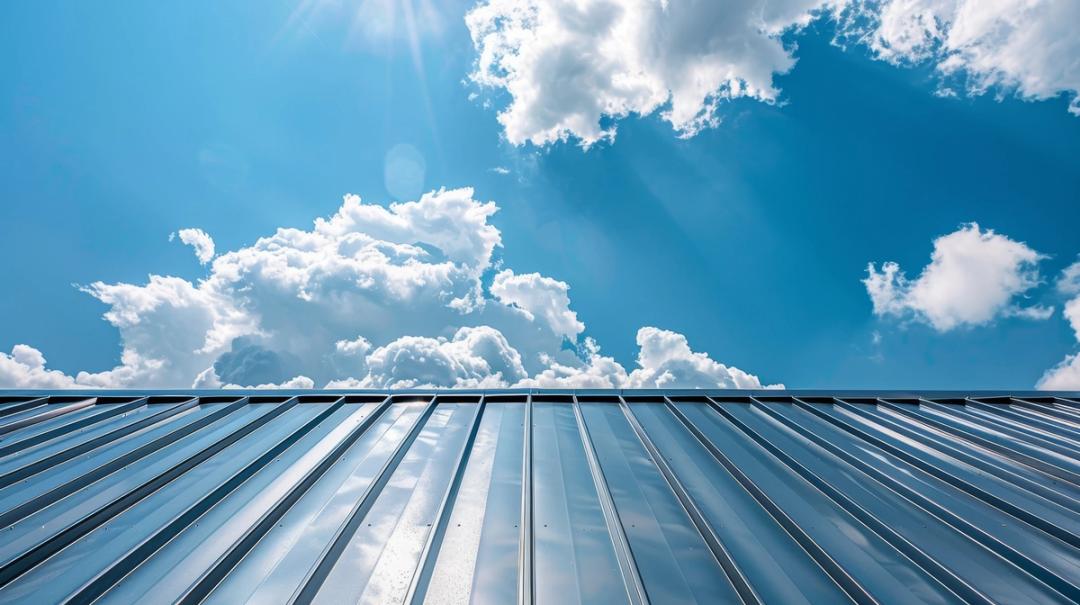
Metal Roofing: Metal roofs are renowned for their longevity and minimal maintenance requirements. They can last 40-70 years, depending on the material, and offer excellent resistance to wind, fire, and impact. Metal roofs are also energy-efficient, reflecting solar radiant heat and reducing cooling costs. Available in various styles and colors, metal roofing can enhance the aesthetic appeal of commercial properties while providing superior protection against the elements.
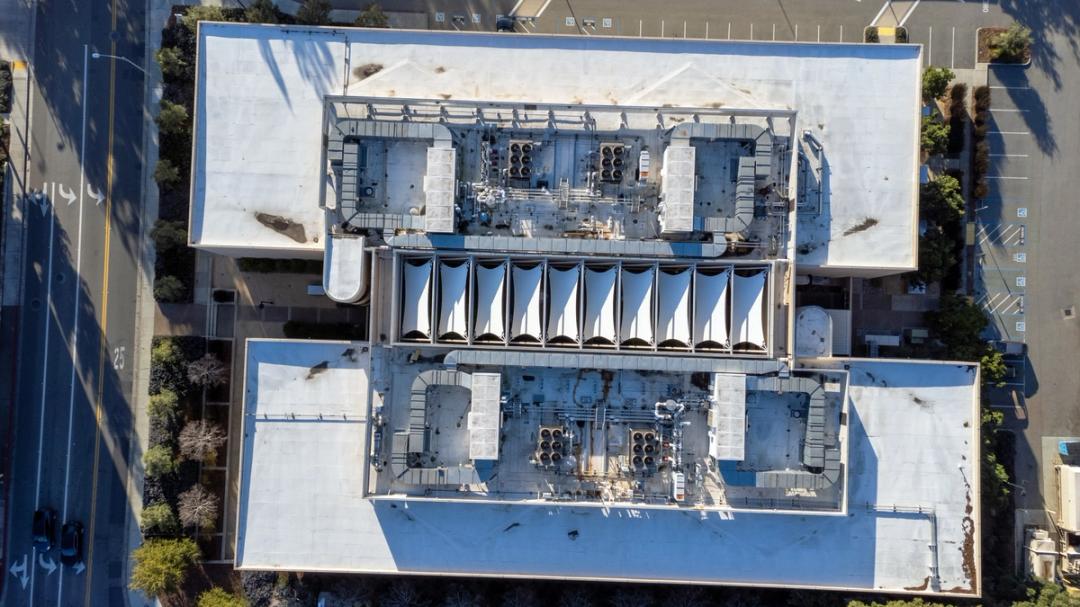
Built-Up Roofing (BUR): Built-up roofing is a traditional choice for flat or low-slope roofs. It consists of multiple layers of bitumen (asphalt or tar) and reinforcing fabrics, creating a durable and watertight membrane. The top layer is typically finished with gravel or a reflective coating to protect against UV rays and weathering. BUR systems are known for their excellent waterproofing and puncture resistance, making them ideal for roofs subjected to heavy foot traffic or harsh conditions.
Each roofing system must be evaluated based on the building’s specific requirements, including its location, expected roof lifespan, maintenance needs, and budget. Proper selection ensures the roof will perform optimally and meet the long-term needs of the property.
Budgeting and Scheduling
Creating a realistic budget and schedule is essential for the successful execution of a commercial roofing project. The budget should account for all costs, including materials, labor, and potential contingencies. Accurate cost estimation helps prevent financial surprises and ensures that all aspects of the project are covered.
Cost Estimation by Roofing System:
- TPO Roofing: TPO is generally cost-effective, ranging from $5 to $10 per square foot installed. The overall cost will depend on the roof size, complexity, and any additional insulation requirements.
- EPDM Roofing: EPDM is slightly more affordable, typically costing between $4 and $8 per square foot. The ease of installation can also reduce labor costs, making it a budget-friendly option for many commercial properties.
- Metal Roofing: Metal roofing is more expensive, ranging from $7 to $12 per square foot. Despite the higher initial cost, its longevity and low maintenance can result in lower lifecycle costs.
- Built-Up Roofing (BUR): BUR is comparable to TPO in cost, usually falling between $5 and $9 per square foot. The multilayered installation process can increase labor costs, but the durability and resistance to damage can offset this over time.
Developing a Comprehensive Timeline: A well-structured schedule is equally important, considering factors such as weather conditions and the need to minimize disruptions to business operations. Proper scheduling ensures that the project progresses smoothly and is completed within the expected timeframe. For instance, roofing projects in Arizona might need to account for the monsoon season, while those in Denver should consider winter weather impacts. A detailed timeline helps coordinate material deliveries, labor allocation, and inspection phases, ensuring each step is executed efficiently.
Financing Options: Offering flexible financing options can significantly attract and retain customers. Financing makes large roofing projects more accessible by spreading the cost over time. Here are some common financing options to consider:
- In-House Financing: Some companies offer their own financing plans, providing customers with the convenience of dealing directly with the service provider. This can include installment plans with fixed monthly payments, making budgeting easier for businesses.
- Third-Party Financing: Partnering with financial institutions or lenders to offer financing options. These might include lines of credit, loans, or lease-to-own agreements. Third-party financing can provide competitive rates and terms tailored to the customer’s credit profile.
- Government Programs and Incentives: There are often local, state, or federal programs designed to support energy-efficient upgrades, including roofing. These can include grants, low-interest loans, or tax incentives, reducing the overall cost burden on the property owner.
- Deferred Payment Plans: Allowing customers to defer payments for a certain period, typically until after the project is completed. This can be particularly appealing to businesses that need immediate roof repairs but prefer to align payments with their cash flow cycles.
Offering detailed information about these financing options upfront can help clients make informed decisions and secure the necessary funds to proceed with their roofing projects. This approach not only aids in closing sales but also fosters trust and transparency with customers.
Preparing the Site
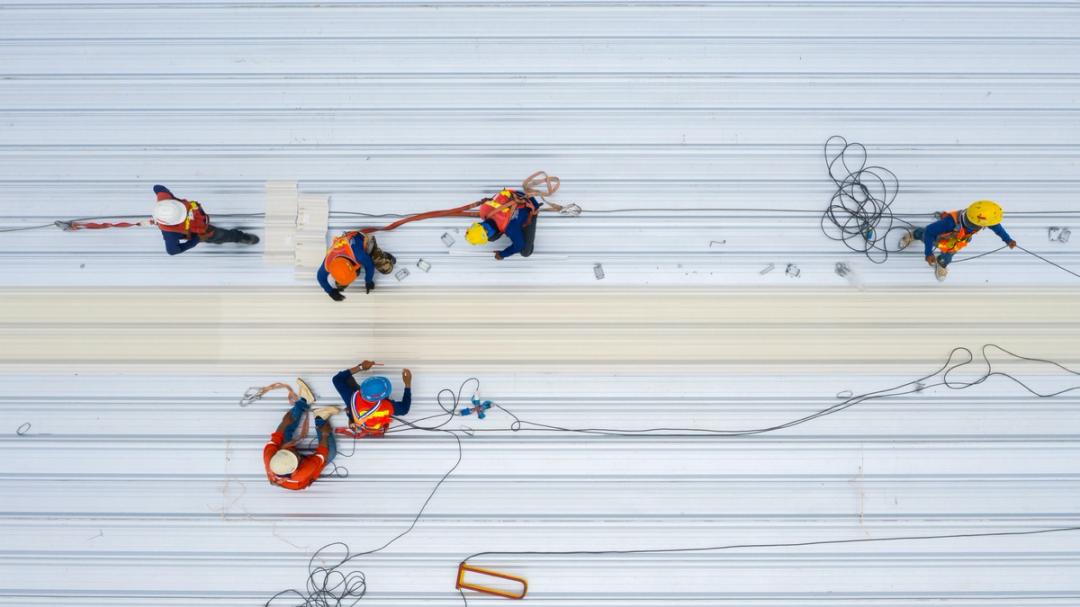
Preparing the site is a critical step to ensure a safe and efficient installation process. This involves several key activities:
1. Safety Precautions: Ensuring all OSHA (Occupational Safety and Health Administration) regulations are met is paramount. This includes setting up fall protection systems, such as guardrails, safety nets, or personal fall arrest systems, to protect workers from potential hazards.
2. Protecting the Building: Measures must be taken to safeguard the building’s interior and exterior during the roofing process. This can involve covering sensitive areas with tarps or plywood to prevent damage from debris. Ensuring proper drainage and temporary weatherproofing is also essential to protect against unexpected weather changes.
3. Material Storage and Handling: Proper storage of roofing materials on-site is crucial to prevent damage and ensure easy access during installation. Materials should be kept in a dry, secure area, and organized to minimize handling time. Ensuring clear pathways and staging areas can help streamline the workflow.
4. Site Accessibility: Ensuring that the site is accessible for both workers and equipment. This might involve coordinating with building management to schedule work during off-peak hours or arranging for temporary access points to minimize disruptions to daily operations.
Installation Process
The installation process varies depending on the chosen roofing system but generally follows these key steps:
1. Removing the Old Roof: The existing roof must be carefully removed, taking care to avoid damaging the underlying structure. This involves stripping away old roofing materials and properly disposing of debris. For roofs with multiple layers, each layer must be removed to ensure a clean surface for the new installation.
2. Repairing the Roof Deck: Once the old roof is removed, the roof deck must be inspected for damage. Any rotten or damaged sections need to be repaired or replaced to provide a solid foundation for the new roof. This step is crucial for ensuring the longevity and performance of the new roofing system.
3. Installing Insulation: Proper insulation is critical for energy efficiency and temperature regulation. Depending on the roofing system, insulation can be installed above the roof deck or integrated within the roofing layers. High-quality insulation materials, such as polyisocyanurate or expanded polystyrene, are typically used to enhance thermal performance.
4. Applying the Roofing System: The chosen roofing system is then installed according to manufacturer specifications and industry best practices:
- TPO Roofing: The TPO membrane is rolled out, cut to fit, and heat-welded at the seams to create a watertight seal. This process requires precision and skilled labor to ensure a durable and long-lasting roof.
- EPDM Roofing: The EPDM membrane is laid out and adhered to the roof deck using either adhesive, mechanical fasteners, or ballast. Seams are sealed with adhesive or tape to ensure waterproofing.
- Metal Roofing: Metal panels or sheets are secured to the roof deck with screws or clips. Proper alignment and spacing are critical to avoid leaks and ensure a neat appearance. Flashing and trim are installed to seal edges and penetrations.
- Built-Up Roofing (BUR): Layers of bitumen and reinforcing fabric are alternated and applied in hot or cold form. The final layer is typically coated with gravel or a reflective coating to protect against UV rays and weathering.
5. Final Inspection and Quality Assurance: Once the roofing system is installed, a thorough inspection is conducted to ensure all specifications and quality standards are met. This includes checking for proper adhesion, seam integrity, and overall workmanship. Addressing any issues promptly helps prevent future problems and ensures the roof performs as intended.

Quality Assurance and Inspections
Quality assurance is essential during and after the installation to ensure the roof meets all specifications and standards. This involves several key activities:
1. Ongoing Inspections: Throughout the installation process, regular inspections should be conducted to monitor progress and adherence to the project plan. This includes checking the alignment and securement of materials, the integrity of seams, and compliance with safety protocols.
2. Final Inspection: Upon completion of the installation, a comprehensive final inspection is performed. This includes a detailed examination of all roofing components, such as flashing, edges, penetrations, and drainage systems. The inspector should verify that all materials are properly installed and that the roof is watertight and secure.
3. Testing and Verification: In some cases, additional testing, such as infrared scans or water tests, may be conducted to ensure there are no leaks or hidden issues. These tests help verify the roof's performance and identify any areas that may require attention.
4. Documentation: Detailed records of the inspection findings, including photographs and notes, should be maintained. This documentation serves as a valuable reference for future maintenance and warranty claims.
5. Addressing Issues: Any identified issues or deficiencies must be addressed promptly. This may involve repairing seams, adjusting materials, or making other necessary corrections to ensure the roof meets all quality standards.
Post-Installation Care and Maintenance
Proper post-installation care and ongoing maintenance are crucial for extending the lifespan of the new roof and ensuring its optimal performance. This involves several key activities:
1. Regular Inspections: Conduct regular inspections, typically twice a year and after major weather events, to identify and address any issues early. Inspections should focus on areas prone to wear and damage, such as seams, flashing, and roof penetrations.
2. Routine Maintenance: Establish a routine maintenance schedule that includes cleaning debris, checking for damage, and making minor repairs as needed. Keeping the roof clean and well-maintained prevents the buildup of debris that can lead to water pooling and other issues.
3. Preventive Measures: Implement preventive measures to protect the roof from damage. This may include installing protective barriers, reinforcing vulnerable areas, and addressing potential sources of damage, such as overhanging tree branches or loose equipment.
4. Documentation and Record-Keeping: Maintain detailed records of all inspections, maintenance activities, and repairs. This documentation is essential for tracking the roof's condition, planning future maintenance, and supporting warranty claims.
5. Engaging Professional Services: Consider engaging professional roofing contractors for periodic maintenance and inspections. Their expertise ensures that any issues are accurately identified and properly addressed, helping to extend the roof's lifespan and performance.
Conclusion
Proper roofing installation is a critical component in maintaining the integrity and performance of commercial properties. A well-installed roof not only protects the building from environmental elements but also enhances energy efficiency and overall durability. This comprehensive overview has detailed the key steps and considerations involved in the commercial roofing installation process, from initial assessment and planning to quality assurance and post-installation care.
By carefully selecting the right roofing system, creating a realistic budget and schedule, and implementing thorough site preparation and installation practices, property owners can ensure a successful roofing project. Additionally, offering flexible financing options can make large-scale roofing projects more accessible, providing customers with the means to invest in their property’s long-term health.
Regular maintenance and inspections are crucial for extending the lifespan of the roof, and professional services can help identify and address issues early on. By adhering to these guidelines and best practices, commercial property owners can achieve a durable, efficient, and long-lasting roofing system that meets their needs and withstands the test of time.